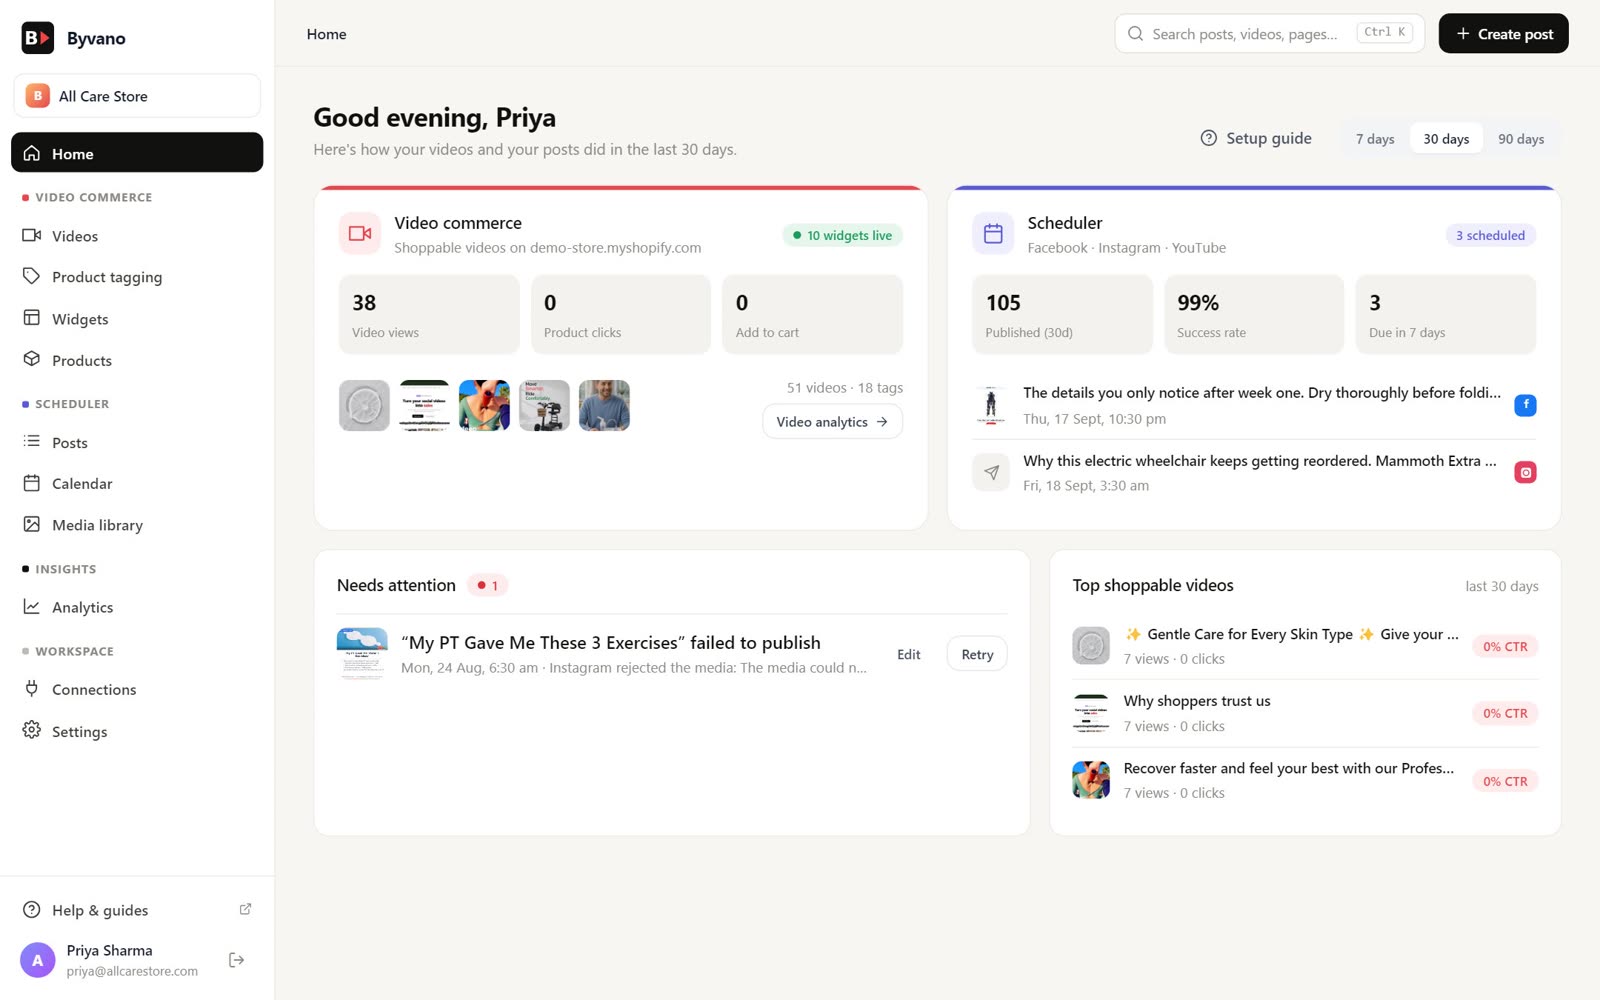
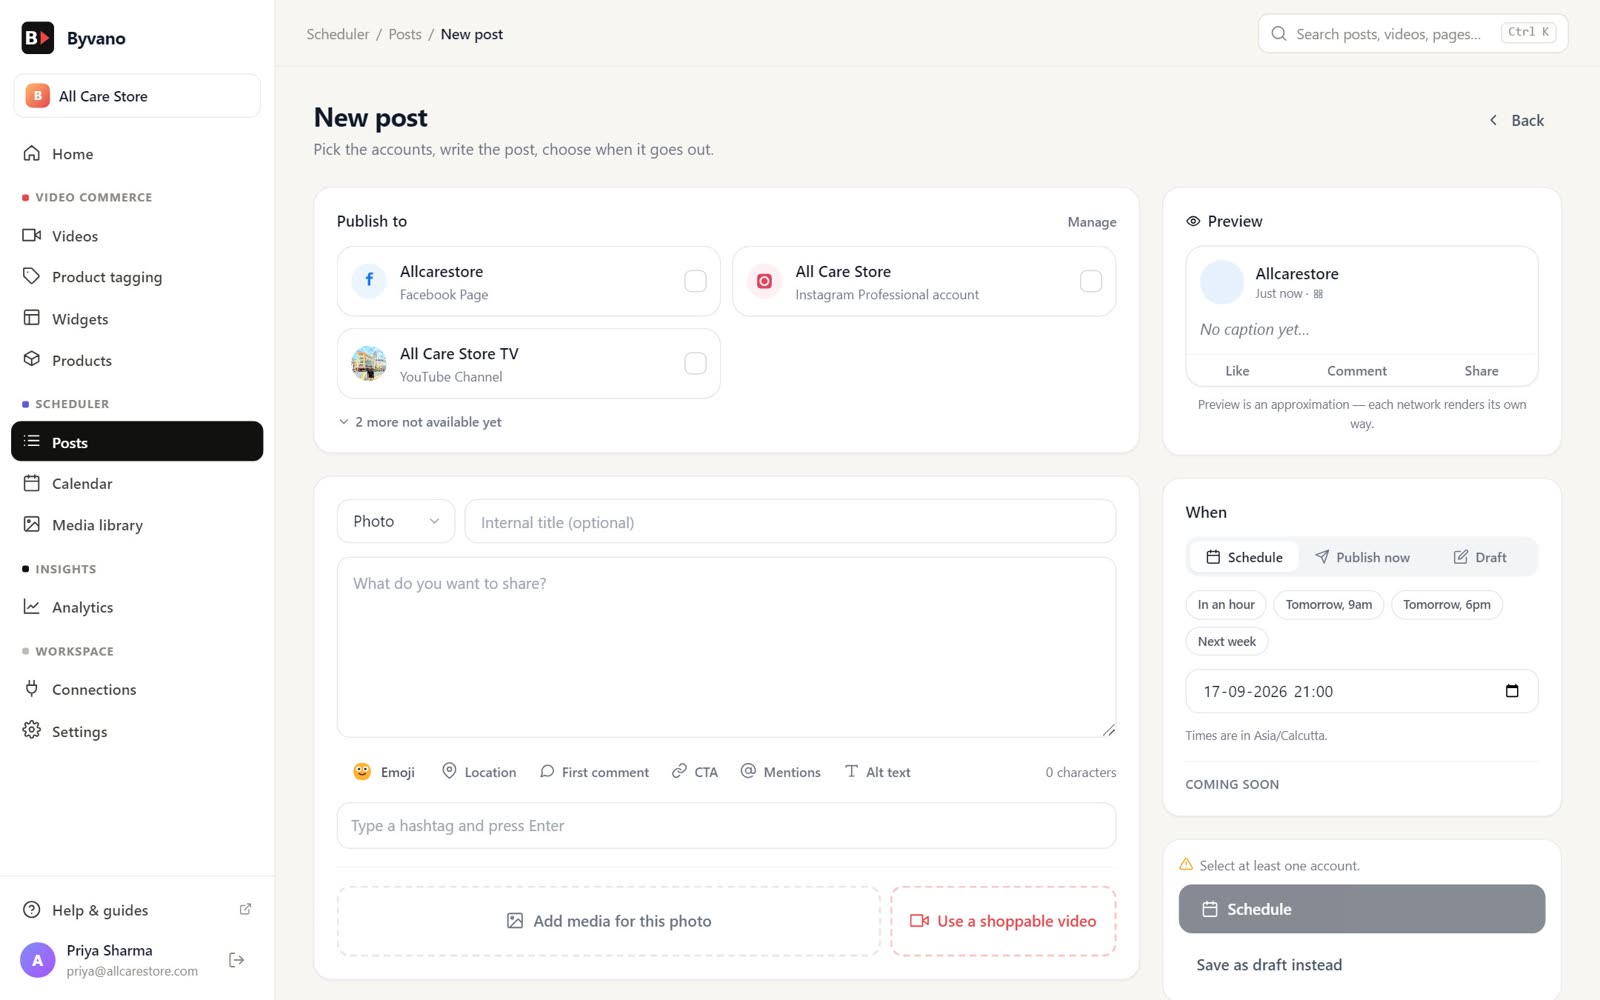
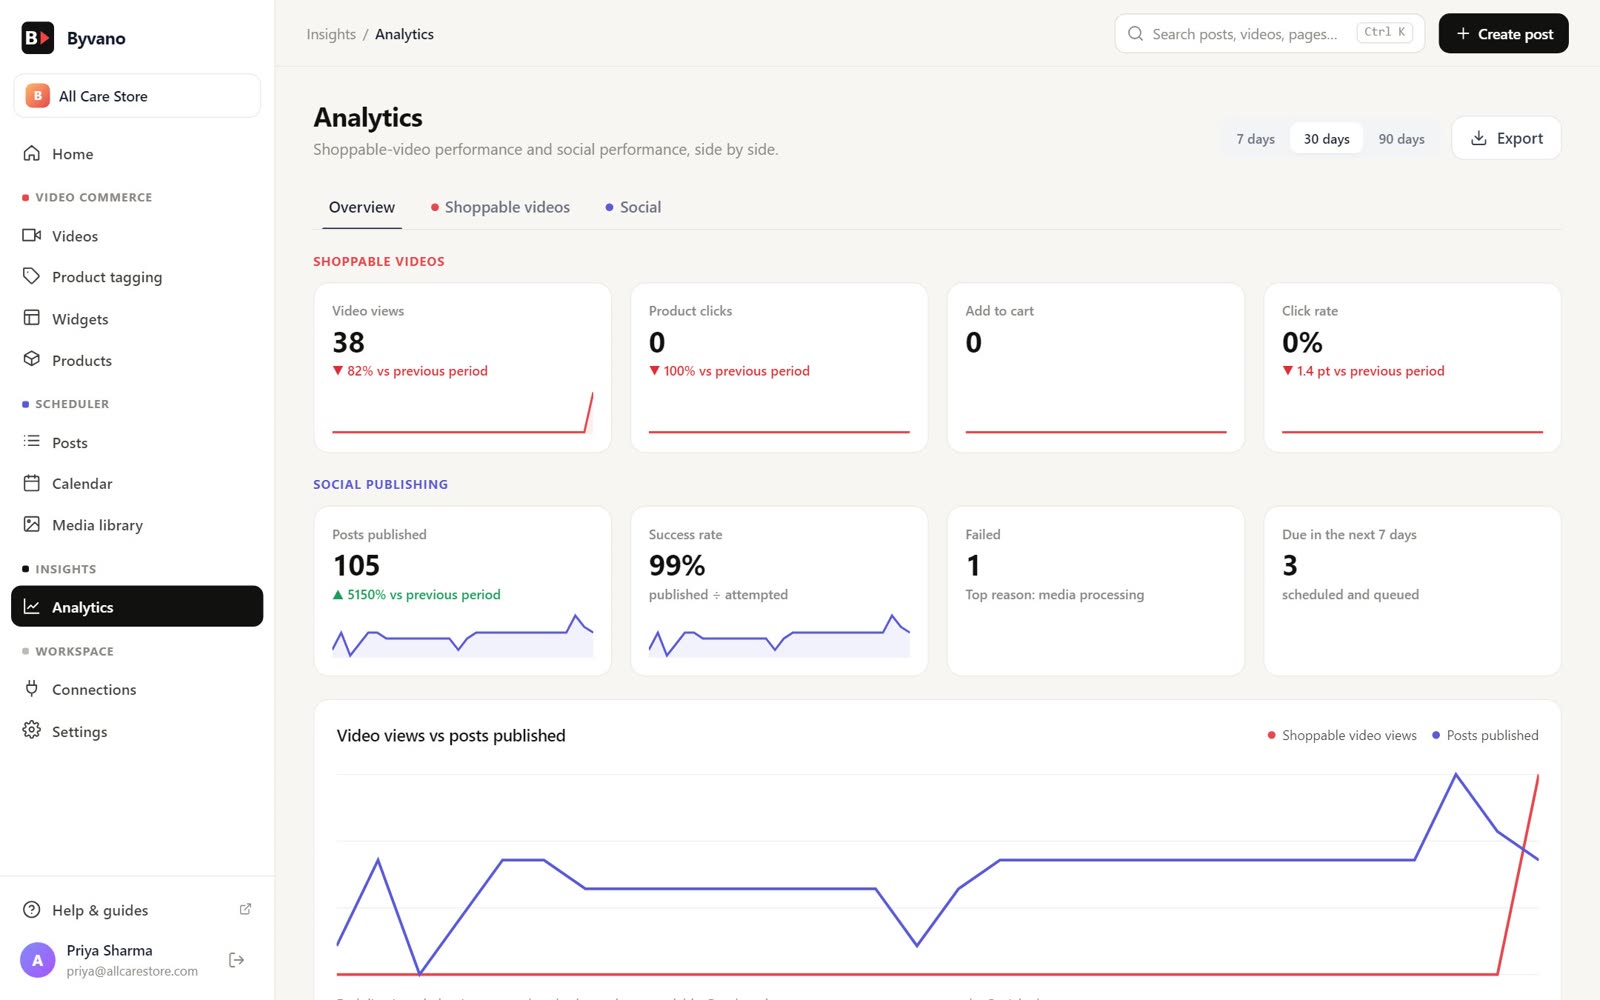
Get started in 3 simple steps

From import to live on your store in under 5 minutes. No coding required.

01

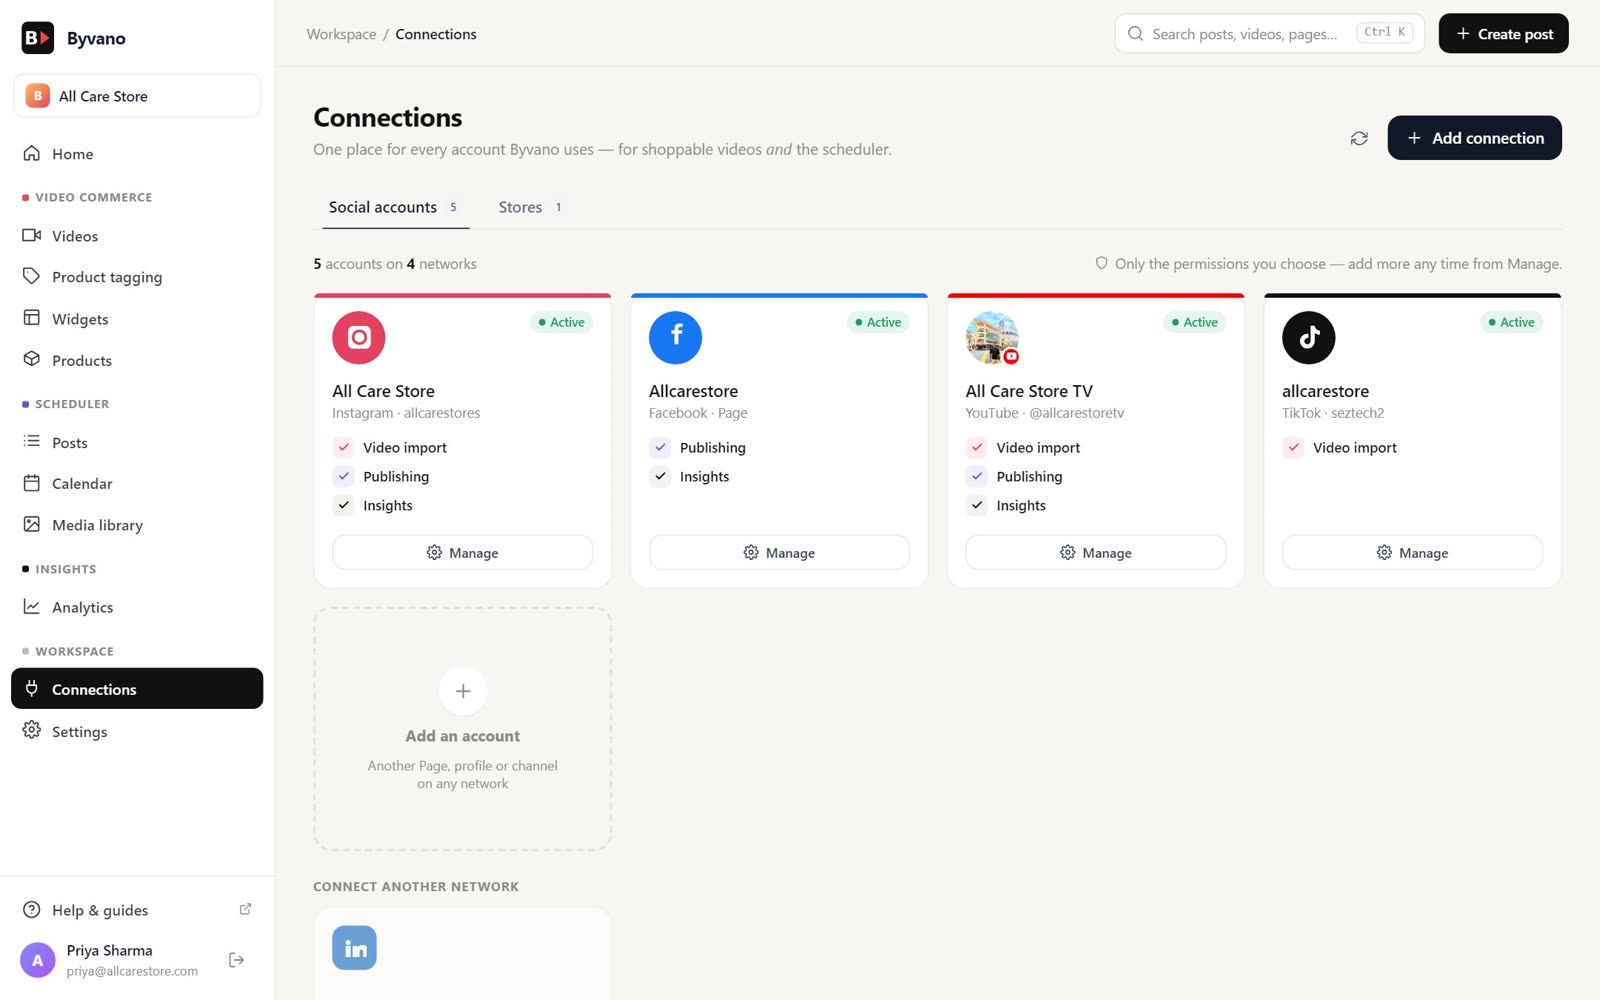
Connect Your Accounts

Link Instagram and YouTube in the Shopify app. Reels and Shorts sync automatically; TikTok can be connected where available.

One-click social auth
Automatic video sync
Import from multiple accounts
02

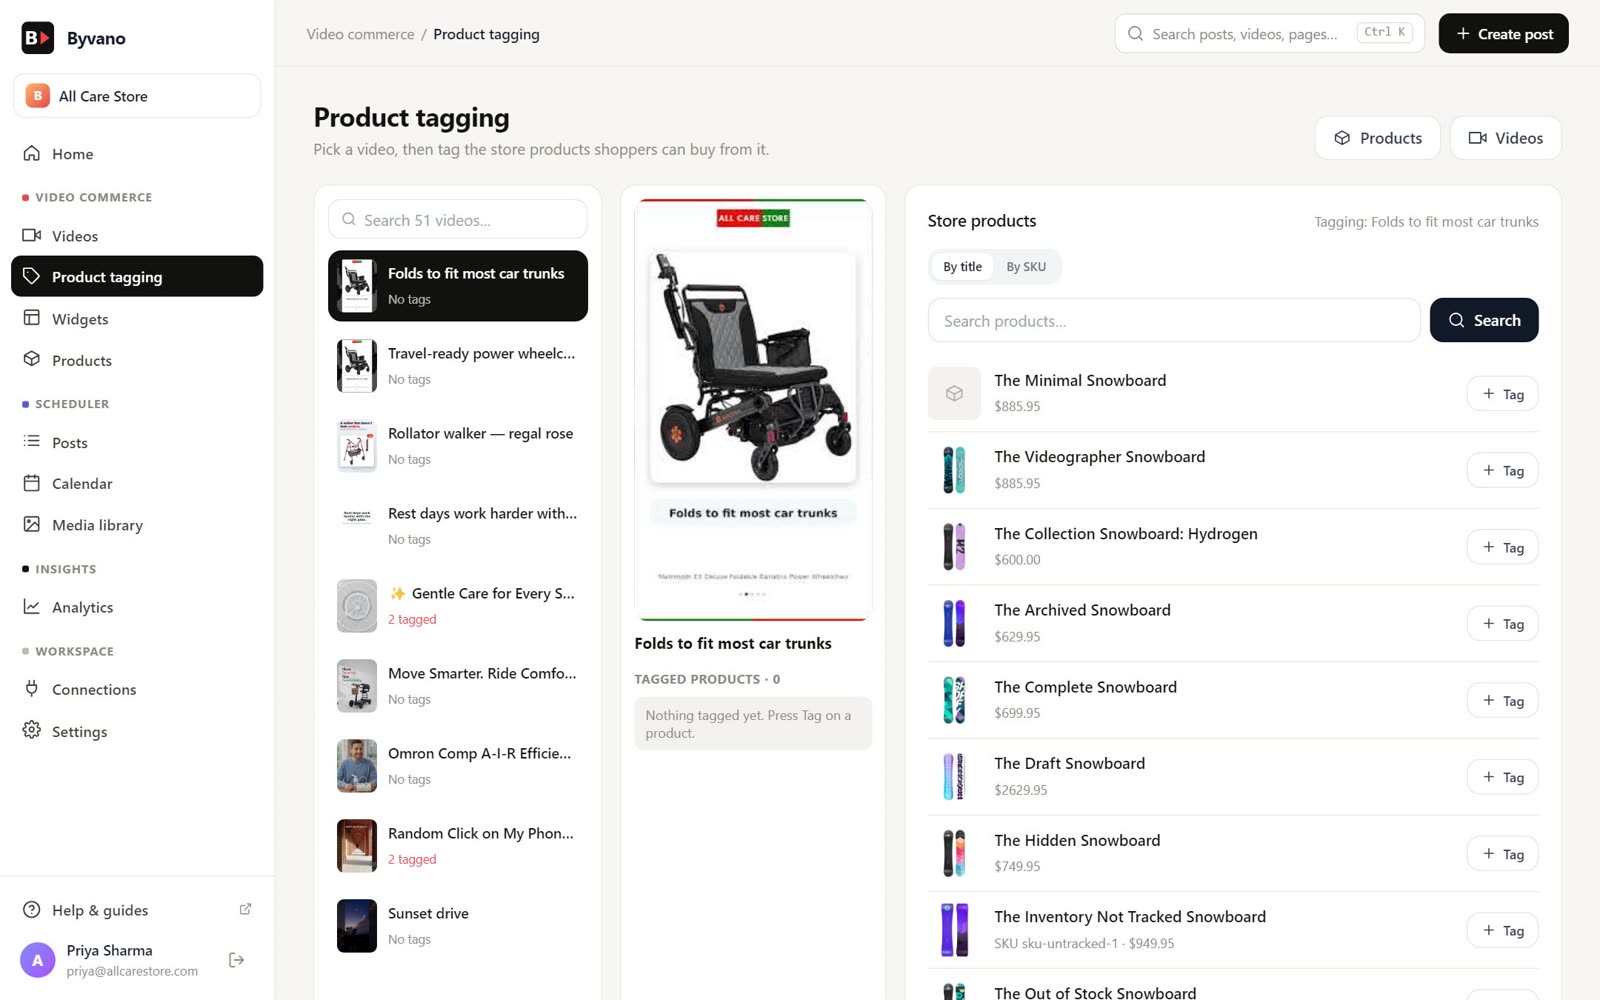
Tag Your Products

Use the visual editor to tag Shopify products onto your videos. Set position, timing, and links. Customers see clickable product overlays while watching.

Visual drag-and-drop editor
Search your full product catalog
Set timing and position per tag
03

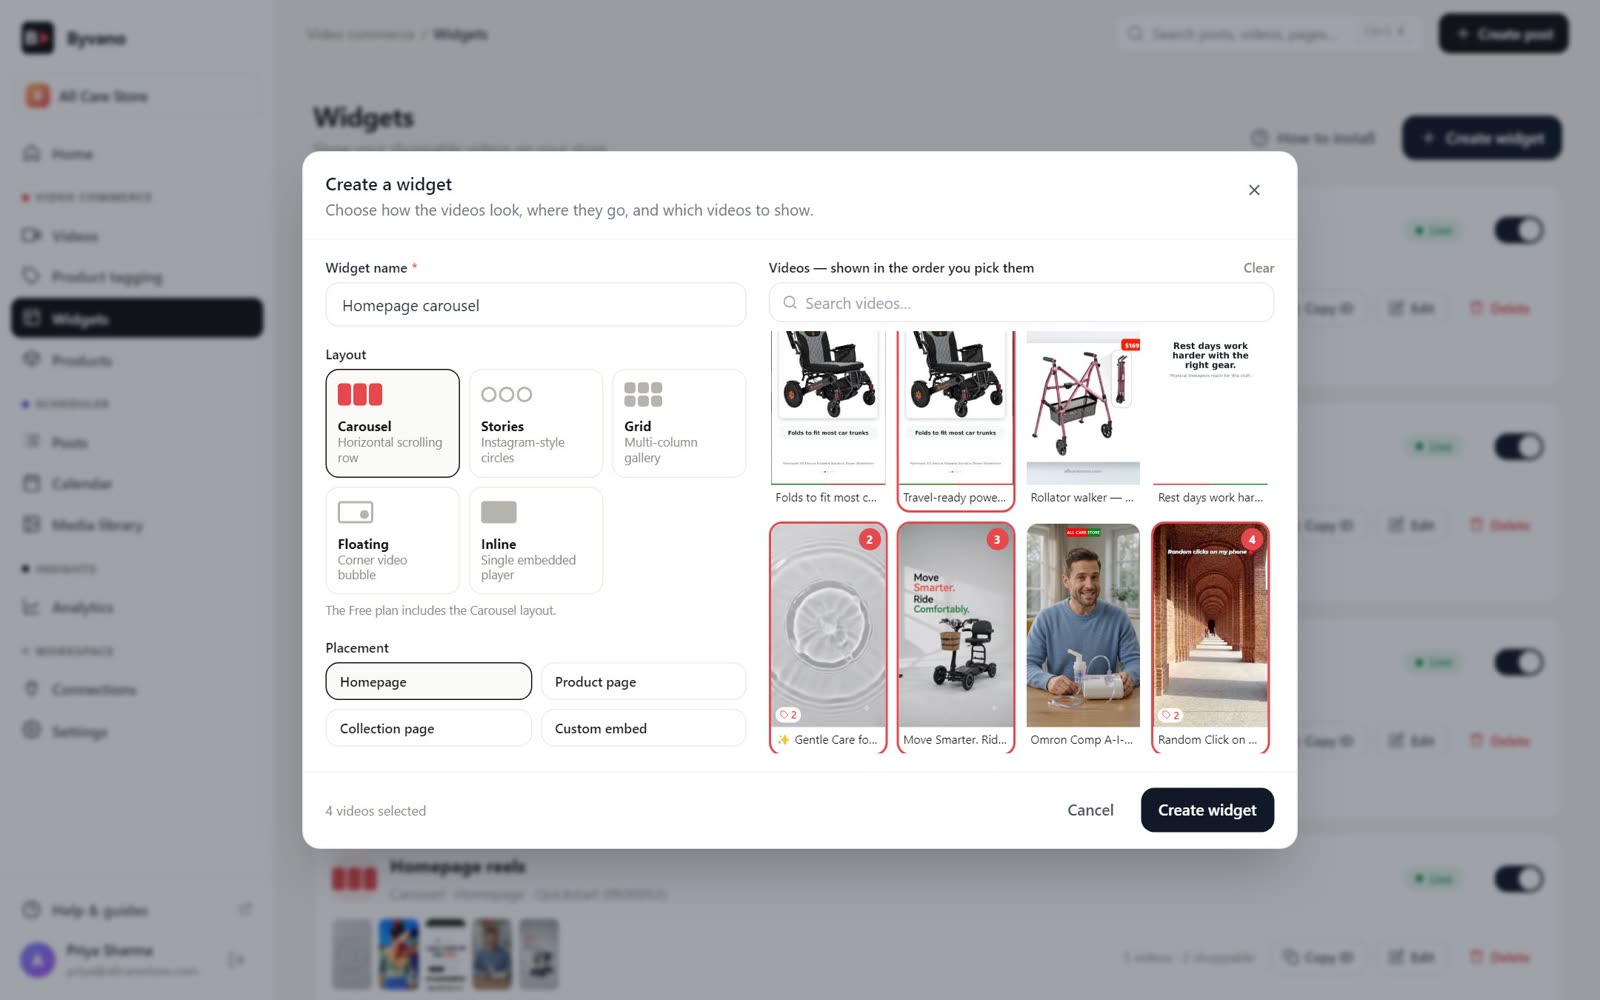
Publish & Sell

Add the Byvano widget to any page of your store with one click via the Shopify theme editor. Videos go live instantly and start driving sales.

One-click theme integration
Multiple widget layouts
Real-time analytics from day one

What each step actually involves

Step 1 — connecting an account

Authorise Instagram, YouTube or TikTok from inside the app. The connection is read-only: Byvano reads your published media and cannot post on your behalf. Instagram requires a Business or Creator account, because those are the only account types Instagram exposes media for; converting is free and takes a minute in settings.

Byvano does not copy your files. Video streams from the platform it was published on, which is why adding video does not increase your Shopify asset usage or your WordPress uploads directory. The trade-off is that deleting the original post removes it from your storefront too — so anything you cannot afford to lose should be uploaded directly instead.

Step 2 — tagging products

The visual editor reads your live product catalogue, so tagging is search-and-click rather than data entry. Each tag carries its own position and timing, which matters on vertical video where the lower third is usually occupied by captions. Prices and availability read from your catalogue at render time, so a tagged product that sells out stops advertising stock you do not have.

The judgement call is restraint. A video carrying eight tags reads as a catalogue and converts like one; a video carrying three reads as a recommendation. Tag what the video is genuinely about, and add cross-sells only where they are honest.

Step 3 — publishing the widget

On Shopify, add the widget as an Online Store 2.0 section through the theme editor. On WooCommerce, use the shortcode, the Gutenberg block, or turn on automatic product-page placement. Neither route requires theme code, which is what makes the widget survive a theme update.

Start on product pages. It is the highest-intent placement and the easiest to read in the data. Home page carousels and collection-page widgets are worth adding once you know which creative converts.

Your first week, in order

The setup takes ten minutes. Getting a result takes a bit longer, and the sequence below is the one that produces readable data fastest.

  • Day 1 — connect one social account and import eight to twelve clips that already earned watch time. Do not import everything; you are building a test, not a library.
  • Day 1 — tag products on each clip, mapped to your best-selling SKUs.
  • Day 1 — publish a carousel widget on the matching product pages, below the gallery.
  • Days 2-3 — check the widget renders correctly on mobile and desktop, and that your product page still passes Core Web Vitals.
  • Week 1 — leave it alone. Attribution needs traffic before it means anything.
  • Week 2 — read attributed revenue per video. Note which creative sold, not which got watched. The two lists are usually different.
  • Week 3 — import more of whatever the data favoured, and retire the clips that earned views and no carts.

Track return rate alongside conversion. Video that sets accurate expectations about fit, scale and texture shows up in returns before it shows up anywhere else, and in apparel and footwear that effect is frequently worth more than the conversion lift.

Frequently asked questions

How long does setup actually take?

Connecting an account and publishing a first widget takes under ten minutes. Building a shoppable library that covers your best sellers properly — importing twenty to thirty clips and tagging products on each — is closer to an hour. The setup is fast; the merchandising judgement is what takes the time, and it is worth taking.

Do I need a developer?

No. Shopify placement goes through the Online Store 2.0 theme editor and WooCommerce placement through a shortcode or Gutenberg block. A developer is only useful if you are on a heavily customised theme and want the widget called directly from a template.

Which videos should I import first?

Start with clips that already earned watch time on social, mapped to your best-selling products. Watch time is the signal that transfers to a product page; comment counts and trend-audio performance largely do not. Eight to twelve videos is enough to generate readable attribution data within a few weeks.

What if I have no social video at all?

Upload directly. A phone-shot clip answering the question your support inbox gets most often will outperform a studio product film on a product page more often than people expect, because at the bottom of the funnel shoppers are looking for evidence rather than production value.

Can I change the widget after publishing?

Yes. Swap the format, reorder videos, retag products or change styling at any time and the storefront updates without a redeploy. Nothing about the setup is one-way.

Next steps

Features in detailImport, tagging, widgets and analytics.PricingFree, $29 and $99 — no view metering.Setting up on ShopifyTheme placement and performance.Setting up on WooCommercePlugin, shortcode and block.Setup guide: install to first saleThe full walkthrough.See a live demo storeA widget running on a real theme.

Ready to turn your videos into sales?

Start for free. No credit card required.

Start FreeView Demo